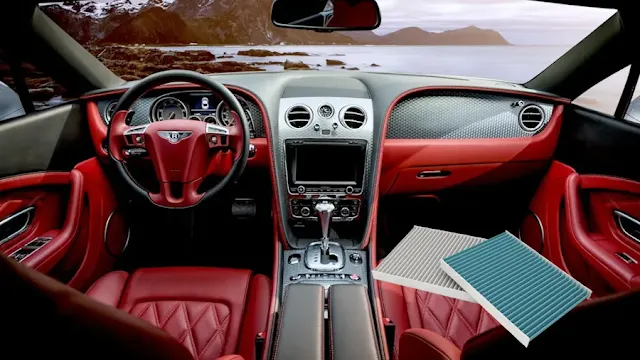
For many car owners, the idea of replacing a cabin air filter might seem like it requires professional service, but it's actually one of the more straightforward car maintenance tasks that you can do yourself. Here’s what you need to know about replacing your cabin air filter, including how to do it, the cost, and the potential savings.
Understanding the Basics of Air Filters in Your Car
Your car typically has two types of air filters: the engine air filter and the cabin air filter. Both play crucial roles— the engine air filter ensures clean air goes into your engine for combustion, while the cabin air filter purifies the air that enters the interior of your car through the heating and air conditioning system.
Replacement Frequency and Cost
It’s recommended to replace these filters every 12,000-15,000 miles or about every 6-12 months, depending on your driving conditions and environment. You might consider more frequent changes if you drive in high-pollution areas or dusty conditions. While a service center might charge up to $30-40 for each filter replacement, the filters themselves often cost around $10 each. This price discrepancy is why many car owners choose to replace the filters themselves.
Amazon and Walmart offer the most affordable air filters.
Who makes the best car air filters?
The leading cabin air filter brands include Bosch, K&N, Hastings, Crown, Purolator, Fram and Mahle. Although some cabin air filters are washable and reusable, the majority need to be replaced approximately every year.
DIY Replacement: A Step-by-Step Guide
Replacing the cabin air filter is usually a simple process:
- Locate the Filter: Most cabin air filters are accessible through the glove box. You typically do not need any tools to open it, but consult your car’s manual for specific instructions.
- Remove the Old Filter: Open the glove box, release the stops or tabs, and slide out the old filter by pulling it toward you.
- Insert the New Filter: Make sure it fits correctly and that the airflow arrows point in the right direction. Then, replace any covers or tabs you removed.
For the engine air filter:
- Access the Filter: This usually requires unscrewing the air filter box located under the hood.
- Replace the Filter: Remove the old filter and insert the new one, then reattach the cover using a screwdriver.
Benefits of Replacing Your Own Air Filters
- Cost Savings: Avoid labor charges by replacing the filters yourself.
- Increased Efficiency: Clean filters help maintain optimal air quality and engine performance.
- Satisfaction: There’s a certain satisfaction in performing your own car maintenance.
What If You Don't Replace the Filter?
Neglecting to change your cabin air filter can lead to reduced air quality in your vehicle, potentially causing the HVAC system to work harder and decrease its lifespan.
Where to Get Tools and Filters
You can purchase cabin air filters Walmart and Amazon or at automotive stores like AutoZone, which typically also offer tools needed for car maintenance. Some stores may offer to change the filters for you, but this is often unnecessary given the ease of doing it yourself.
Recognizing When Replacement Is Needed
Signs that you need to replace your cabin air filter include reduced airflow through your HVAC system, persistent bad odors, and increased noise when the air system is running.
For most vehicles, replacing the cabin air filter is an easy and cost-effective DIY project that can be completed in minutes. It requires minimal tools and can save you money while improving the air quality and efficiency of your car. Always check your vehicle’s manual for specific instructions, or look up a tutorial video for your particular car model online.


No comments:
Post a Comment